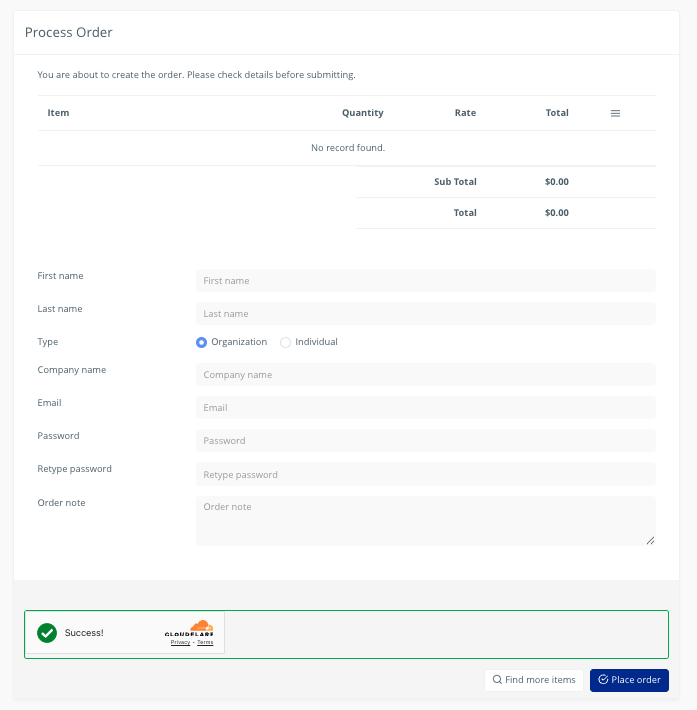
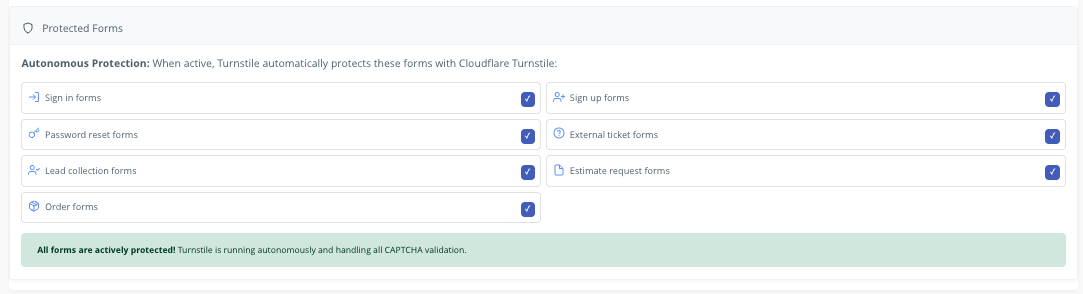
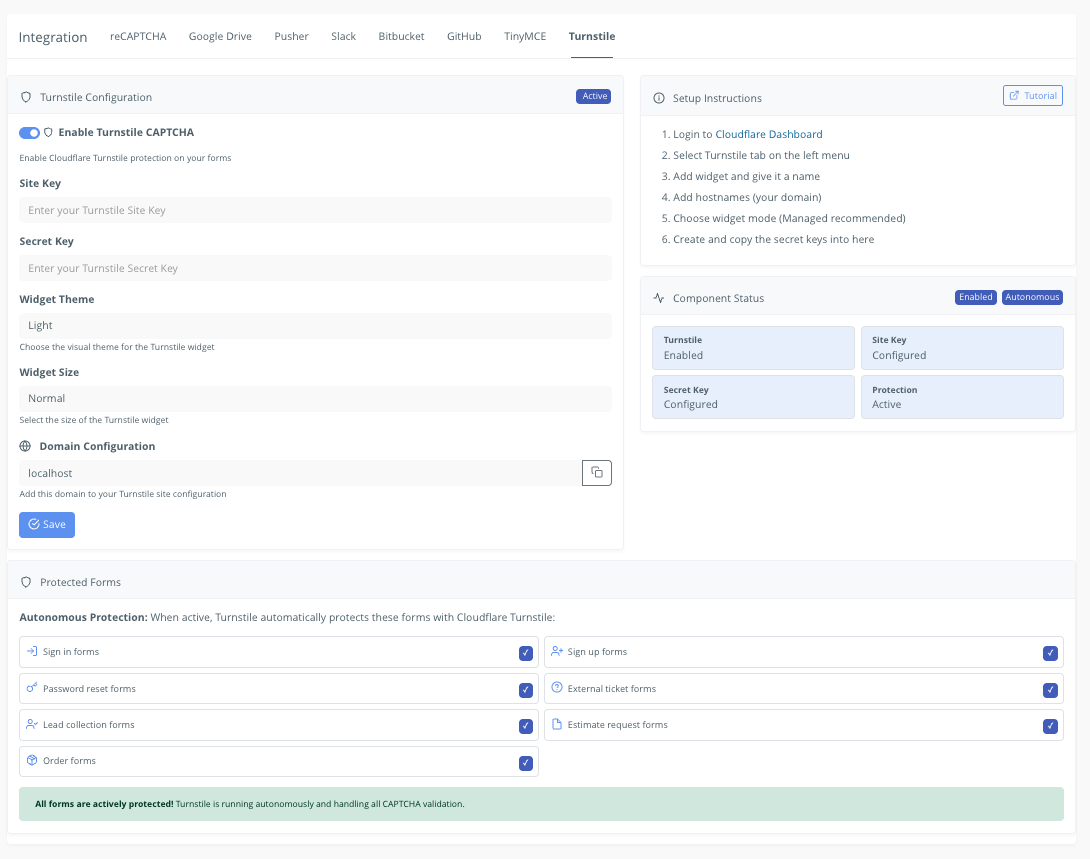
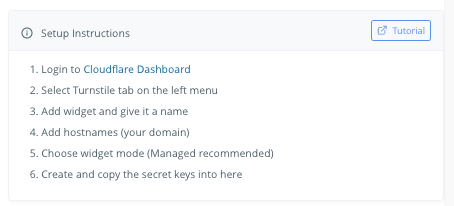
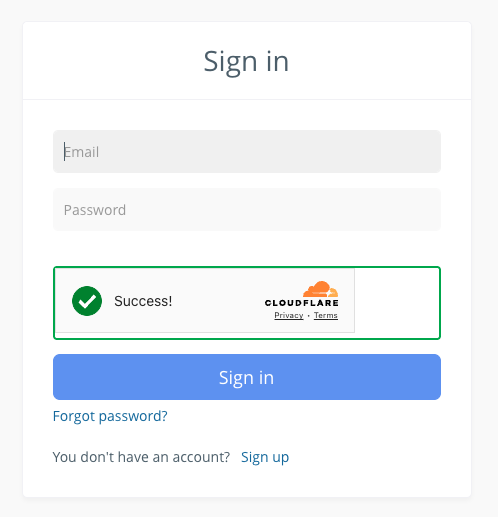
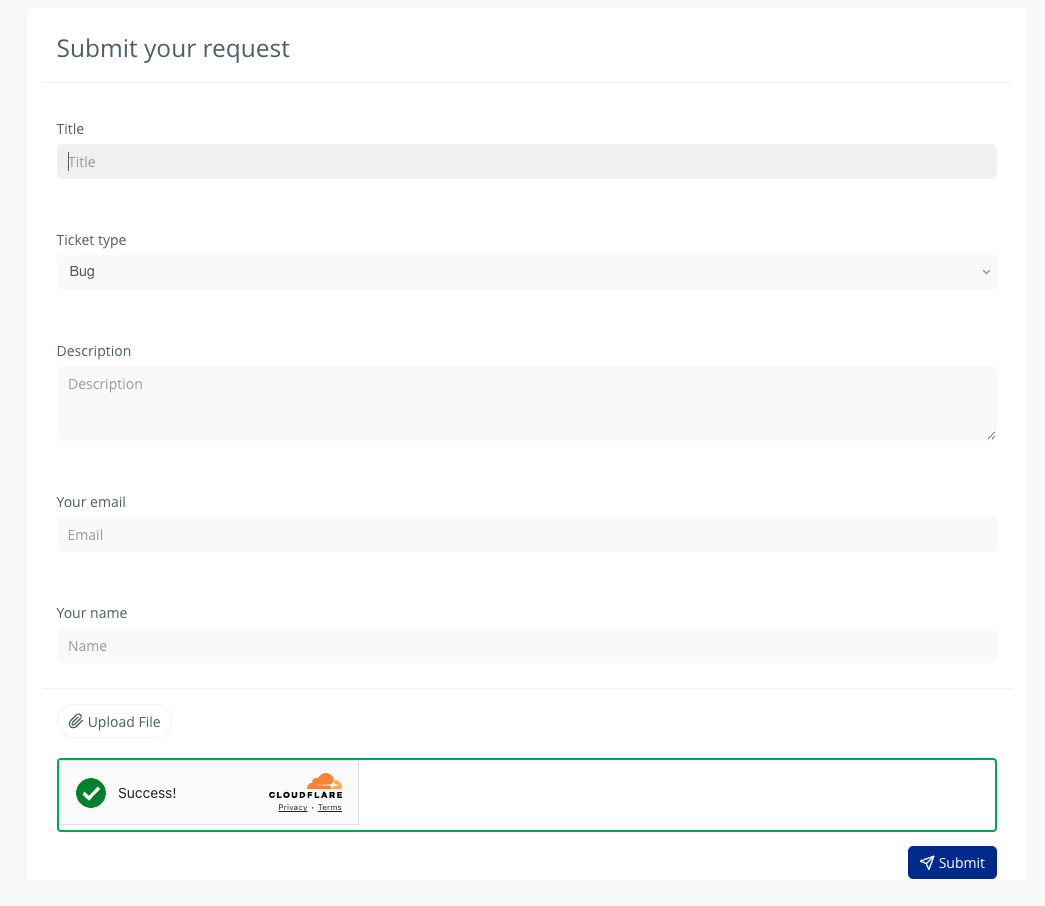
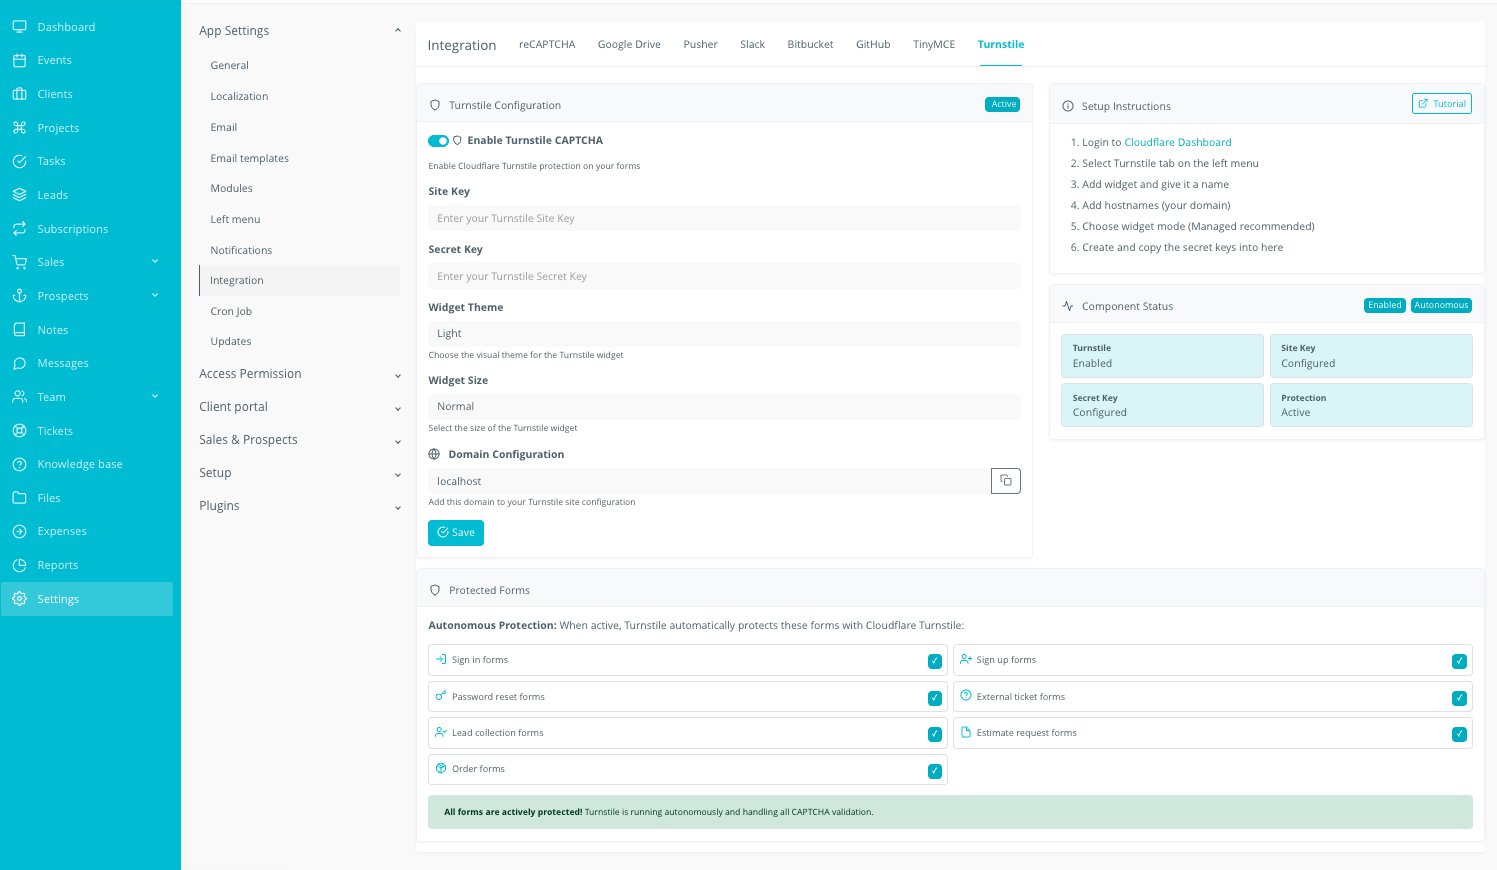
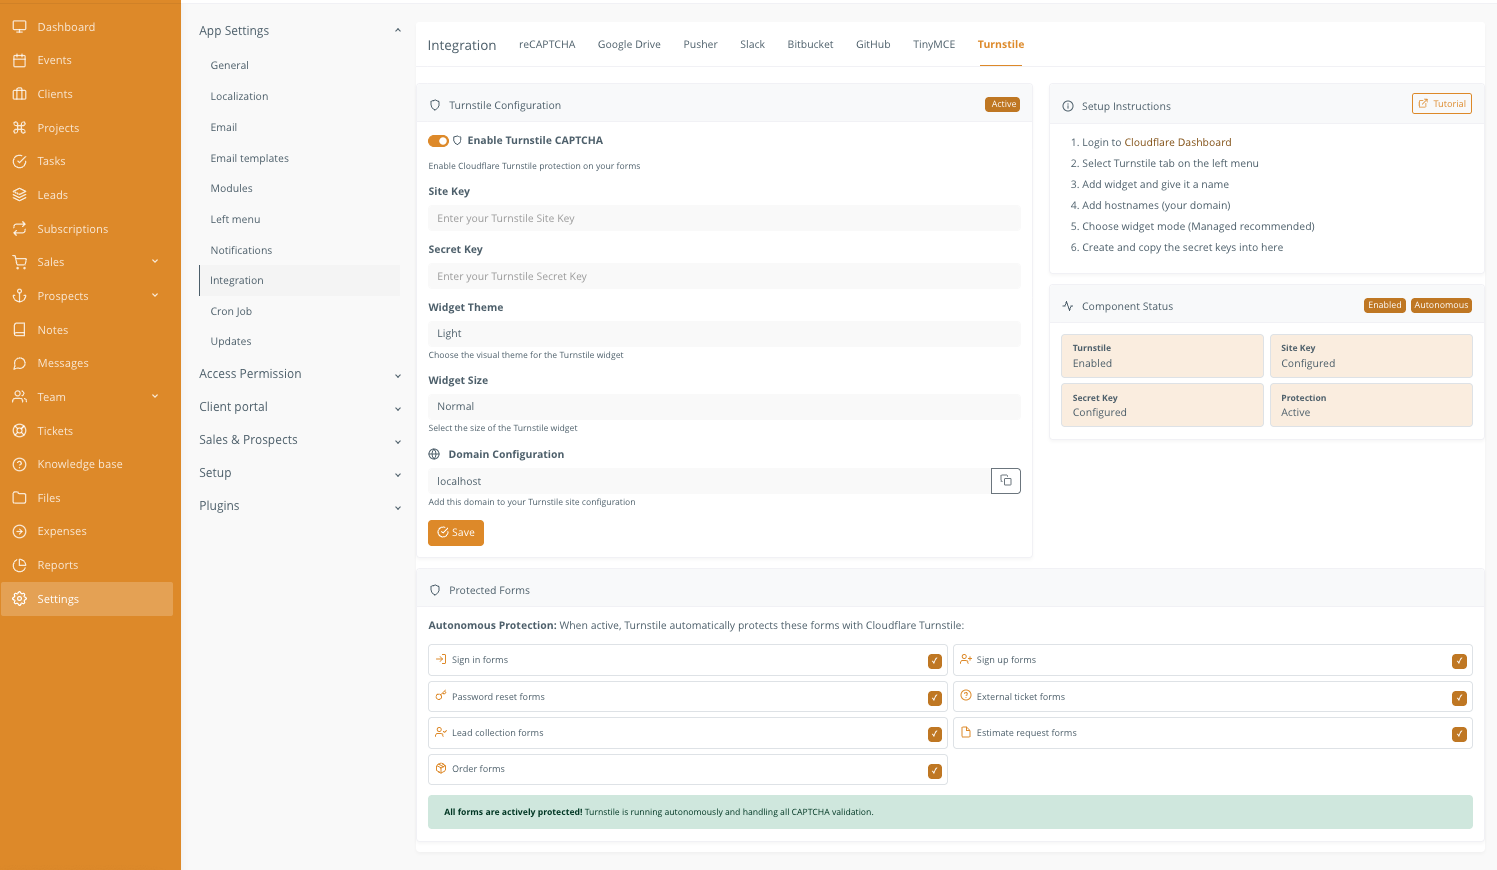
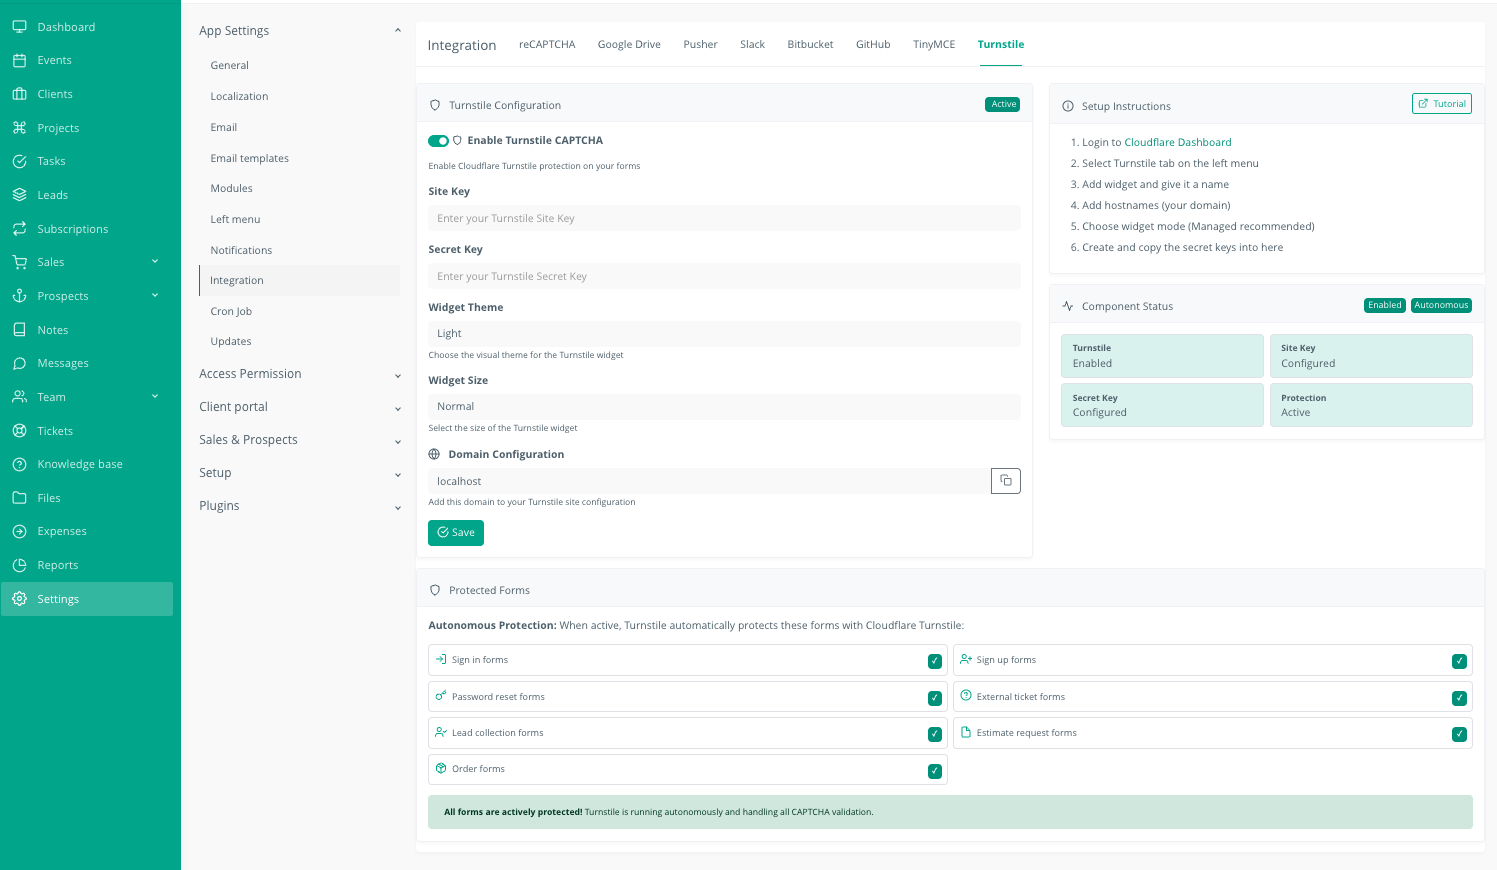
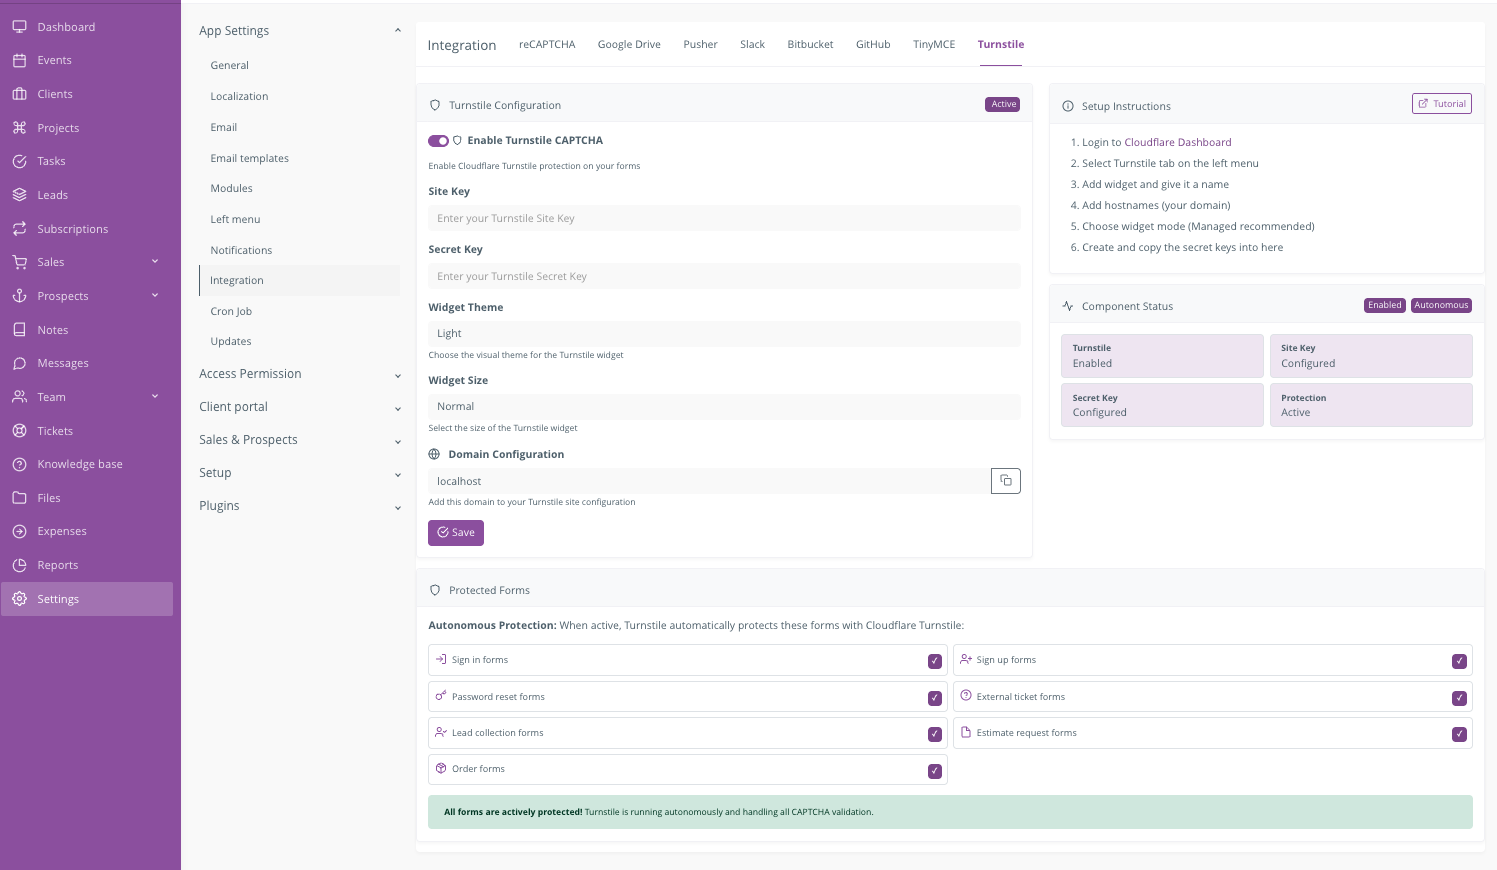
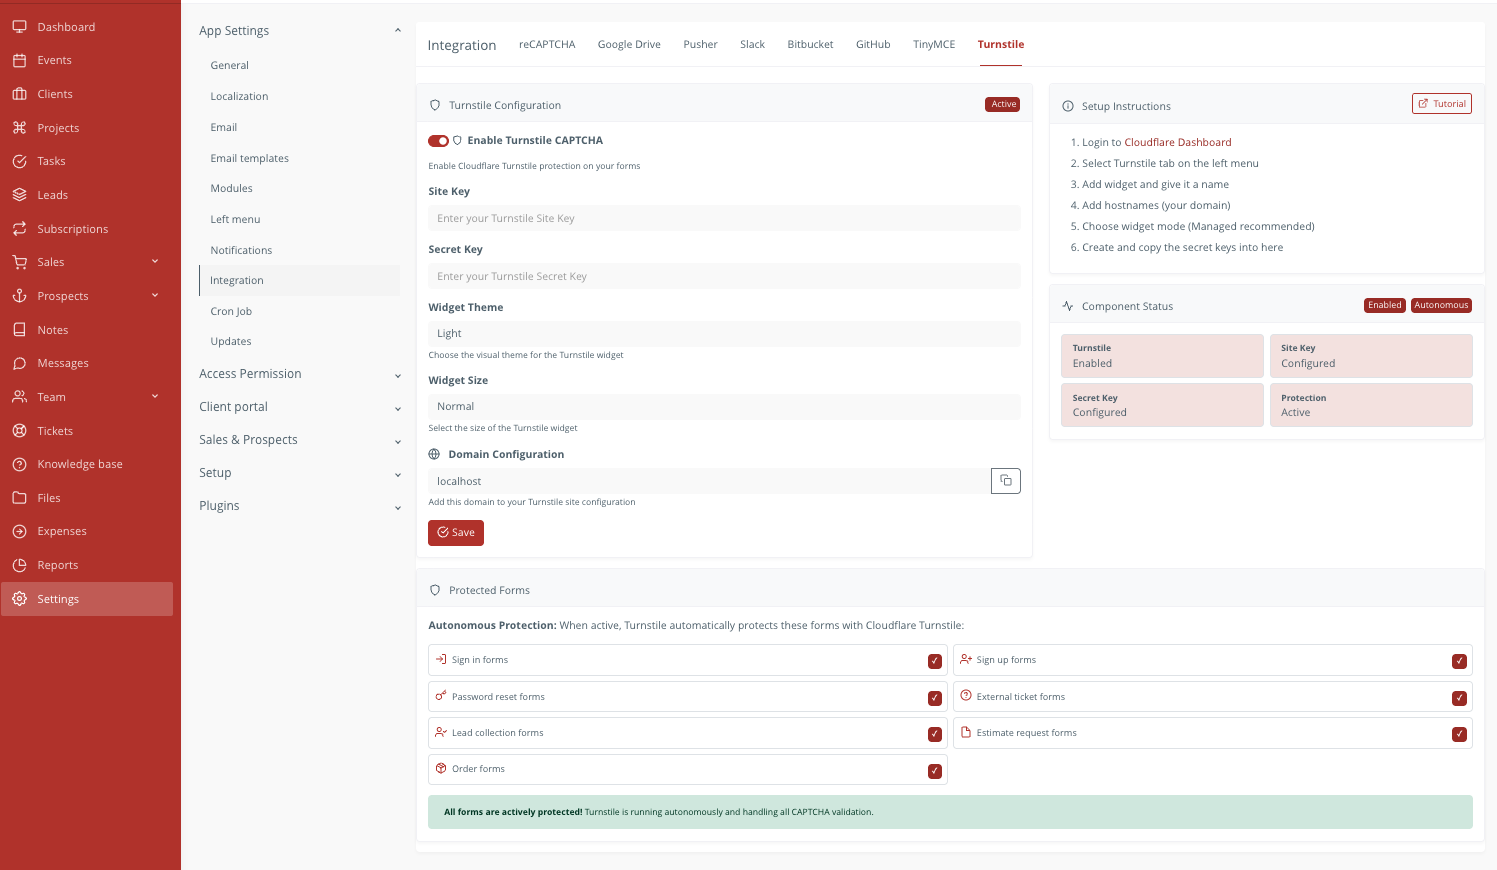
Screenshots
See It in Action

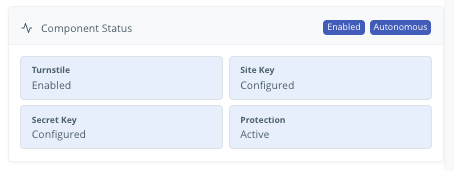
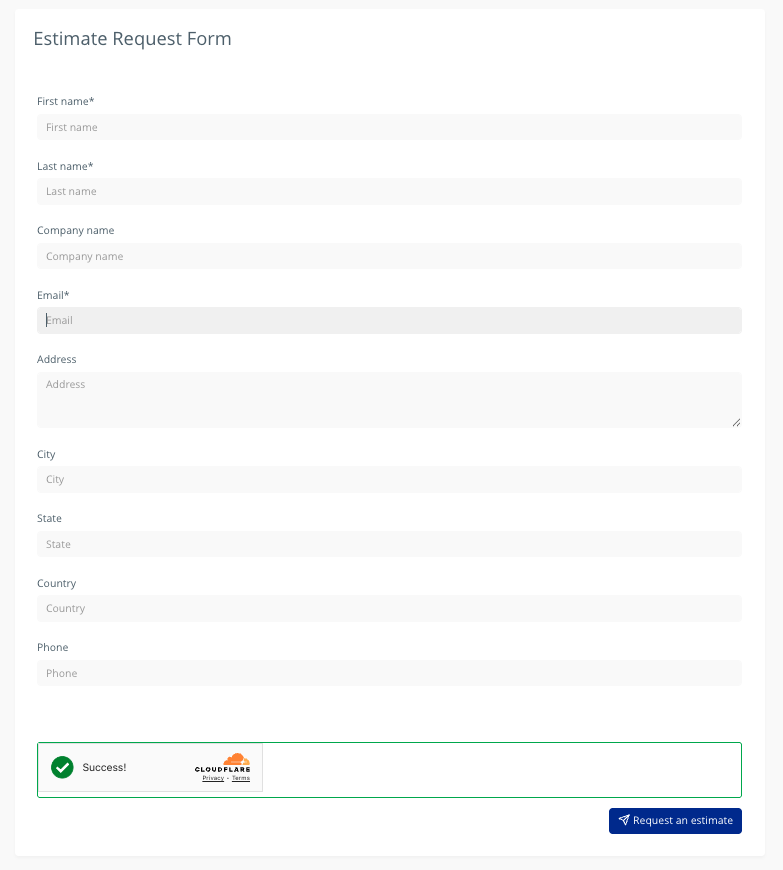
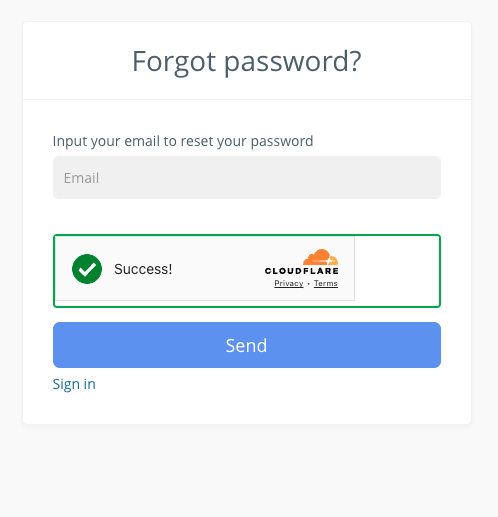
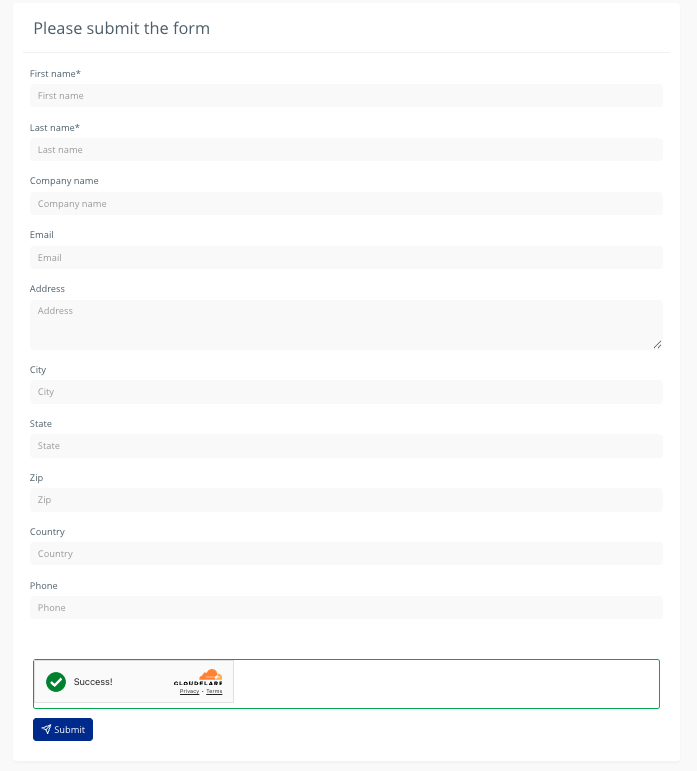
1 / 16